
So tonight Pooky got himself some break and bake chocolate chip cookies from the store. I was jealous. I wanted an after dinner treat too! But, not wanting to create a totally acidic and toxic environment in my body after my 20 miler today and before my 13 miler tomorrow…I resisted the break and bakes. Trying to be healthy stinks sometimes.

OK, OK, OK, So I don’t think you are a fat ass…but still, I am vain and plus I need a strong muscley butt to get me up those mountains in Colorado!!! 😉
We got home and I rummaged through the cupboard desperately. Nothing seemed acceptable…
 Then I was magically struck with an idea…and it came out great! It’s my version of “semi-homemade” … So here you go!
Granola Truffles
Ingredients:
- Chocolate chips, chocolate bar, chocolate squares (try to go for at least 72% or cacao – I used Ghiradelli 86% Intense Dark Midnight Reverie squares – about 4-6 of them)
- PB2 – either original or chocolate (I used a mixture of the two) – alternately you could use natural peanut butter or almond butter (you want to use natural because the commercial brands with added oils are not going to be firm enough. Try making your own, simple and delicious!)
- Granola of your choice – I used Kind Peanut Butter and Chocolate Raspberry
- Dried cranberries or cherries sweetened with apple juice

Directions:
1. If you’re using PB2, start with mixing that up. I used a big spoon (I know, that’s not very descriptive…but you know how your silverware comes with the cereal spoons and then the bigger spoons…well that’s the one I use)… if you want to be technical about it, its probably about a tablespoon. So yeah, I took two big spoons of regular PB2 and mixed it with two big spoons of chocolate PB2 and a big spoon of stevia. Then I added a little water at a time until it was a thick paste. If you’re using natural peanut butter or almond butter, then skip this step.
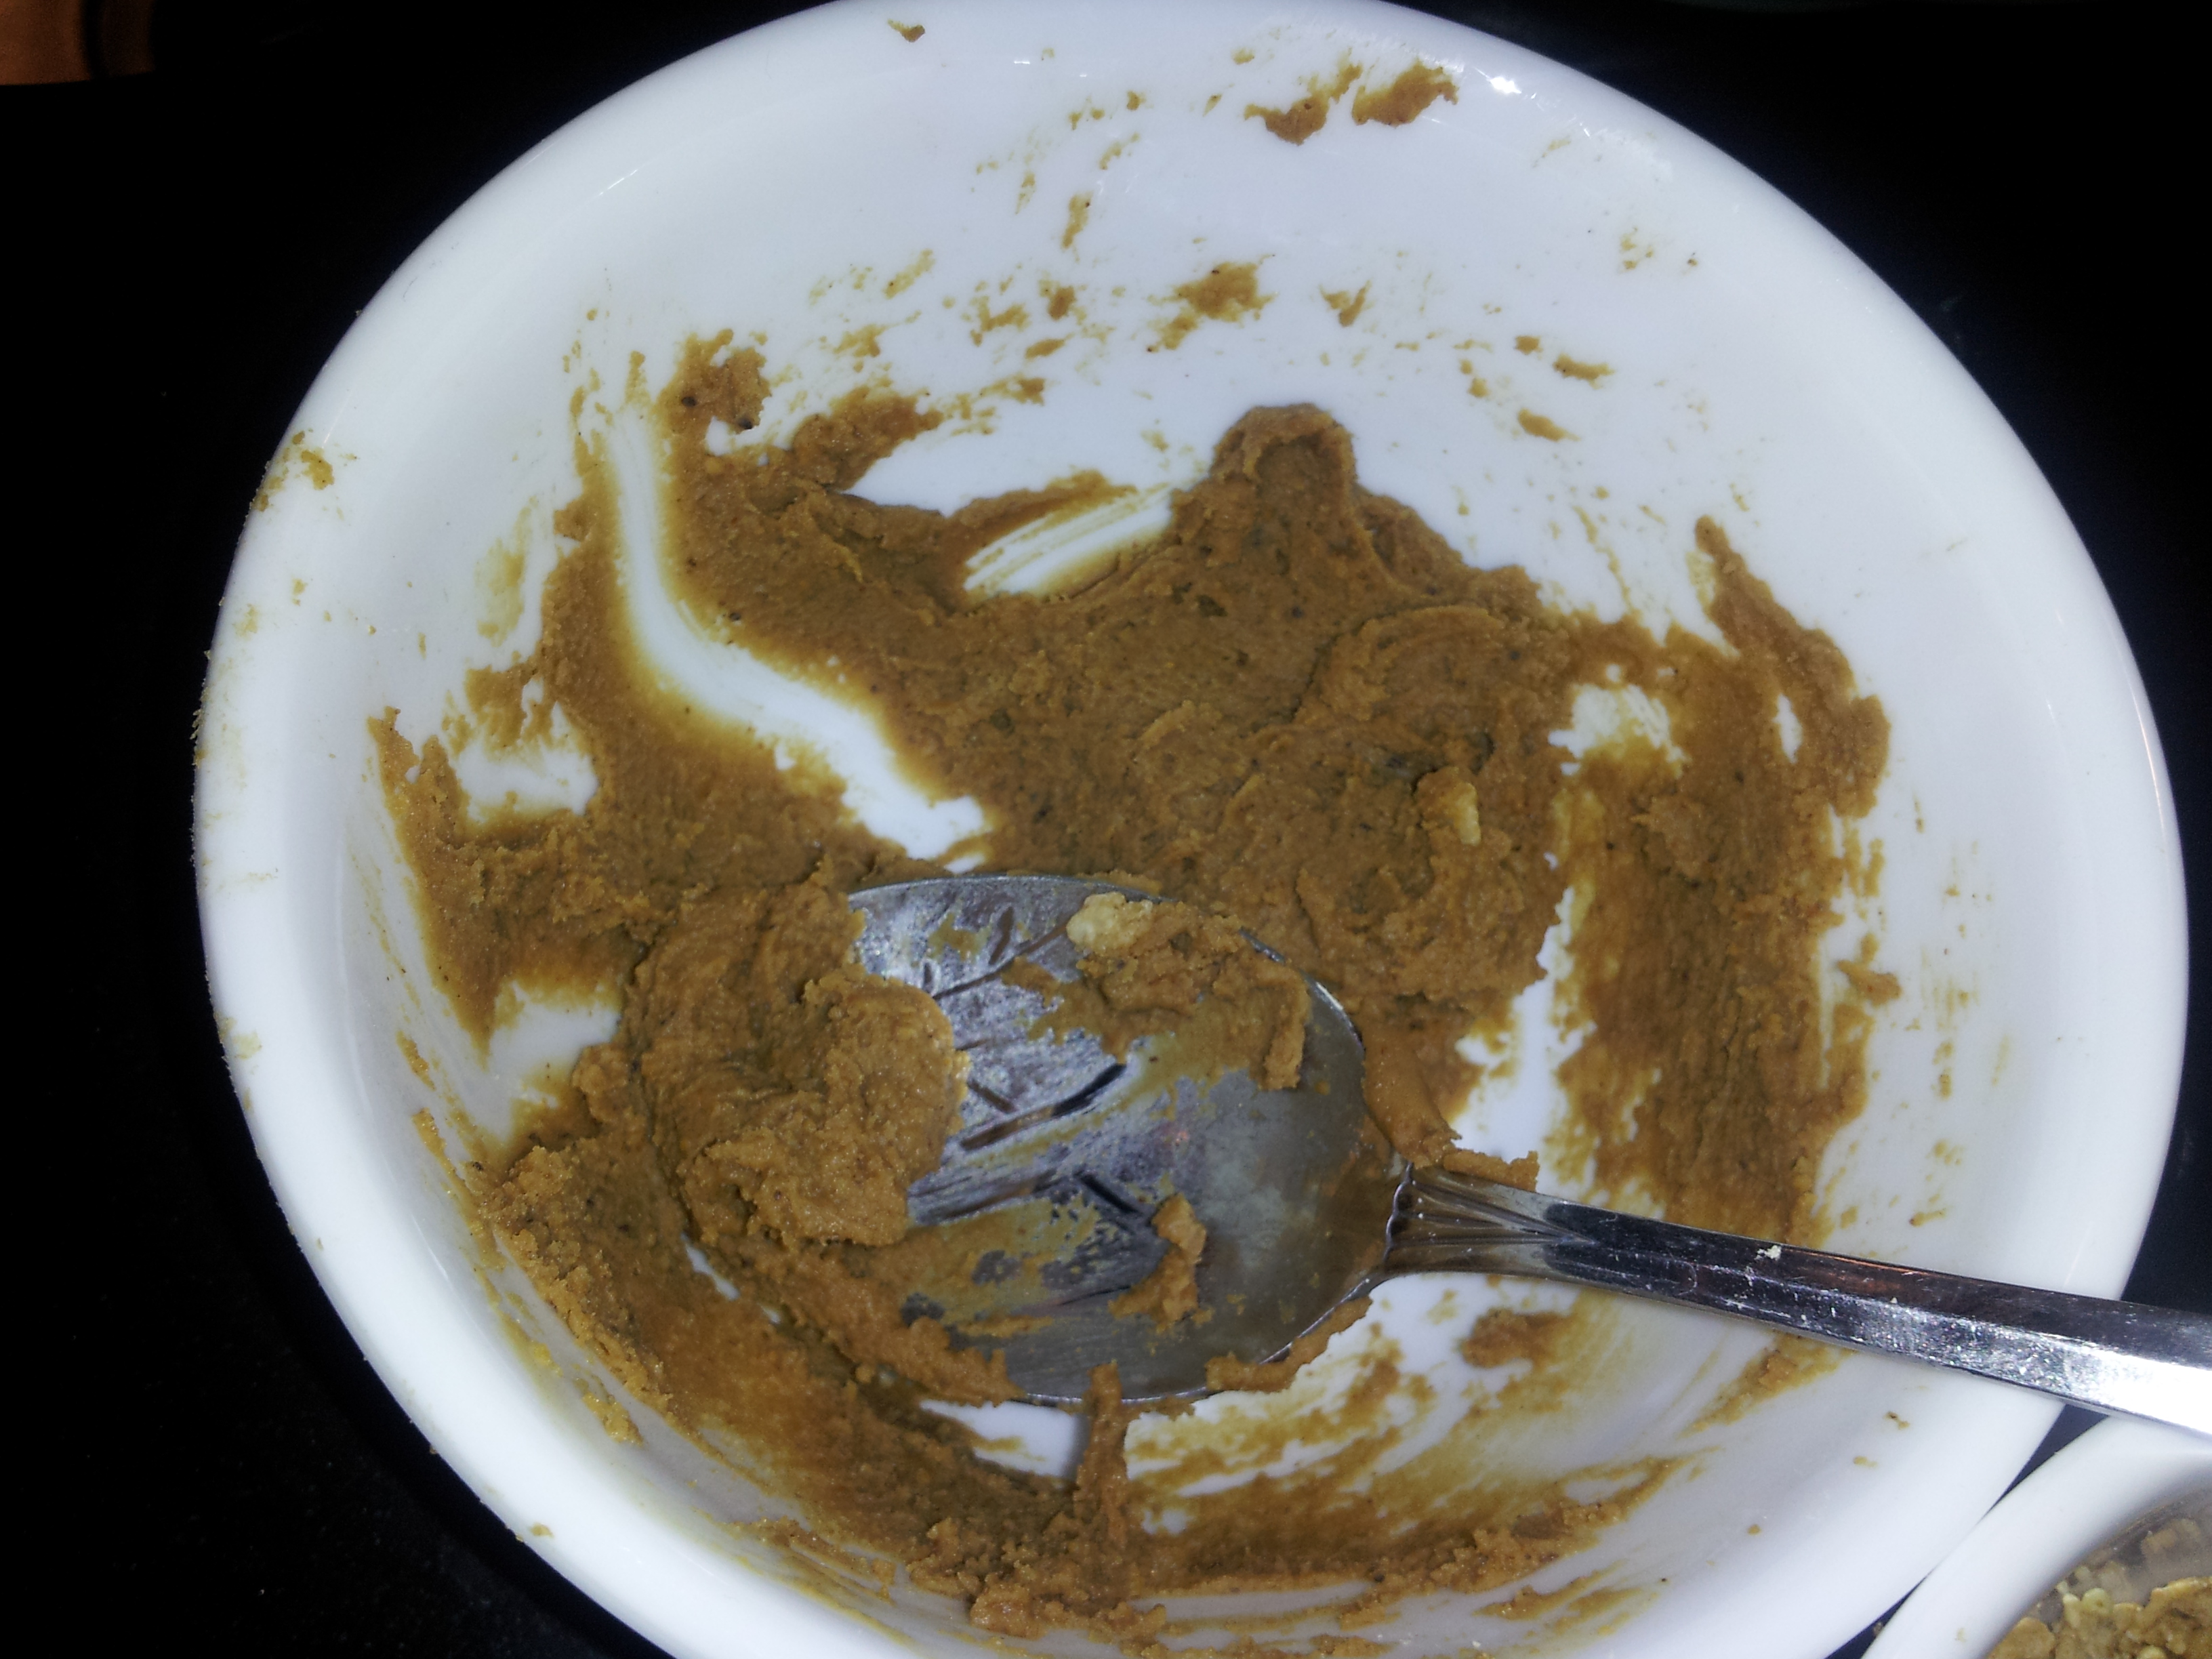
Another famous unappetizing shot by Liz! 😉
2. Next take an empty bowl and add a little of your granola. Add the dried fruit to the granola. Easy enough.

Yeah, it’s ridiculous that I took this picture.
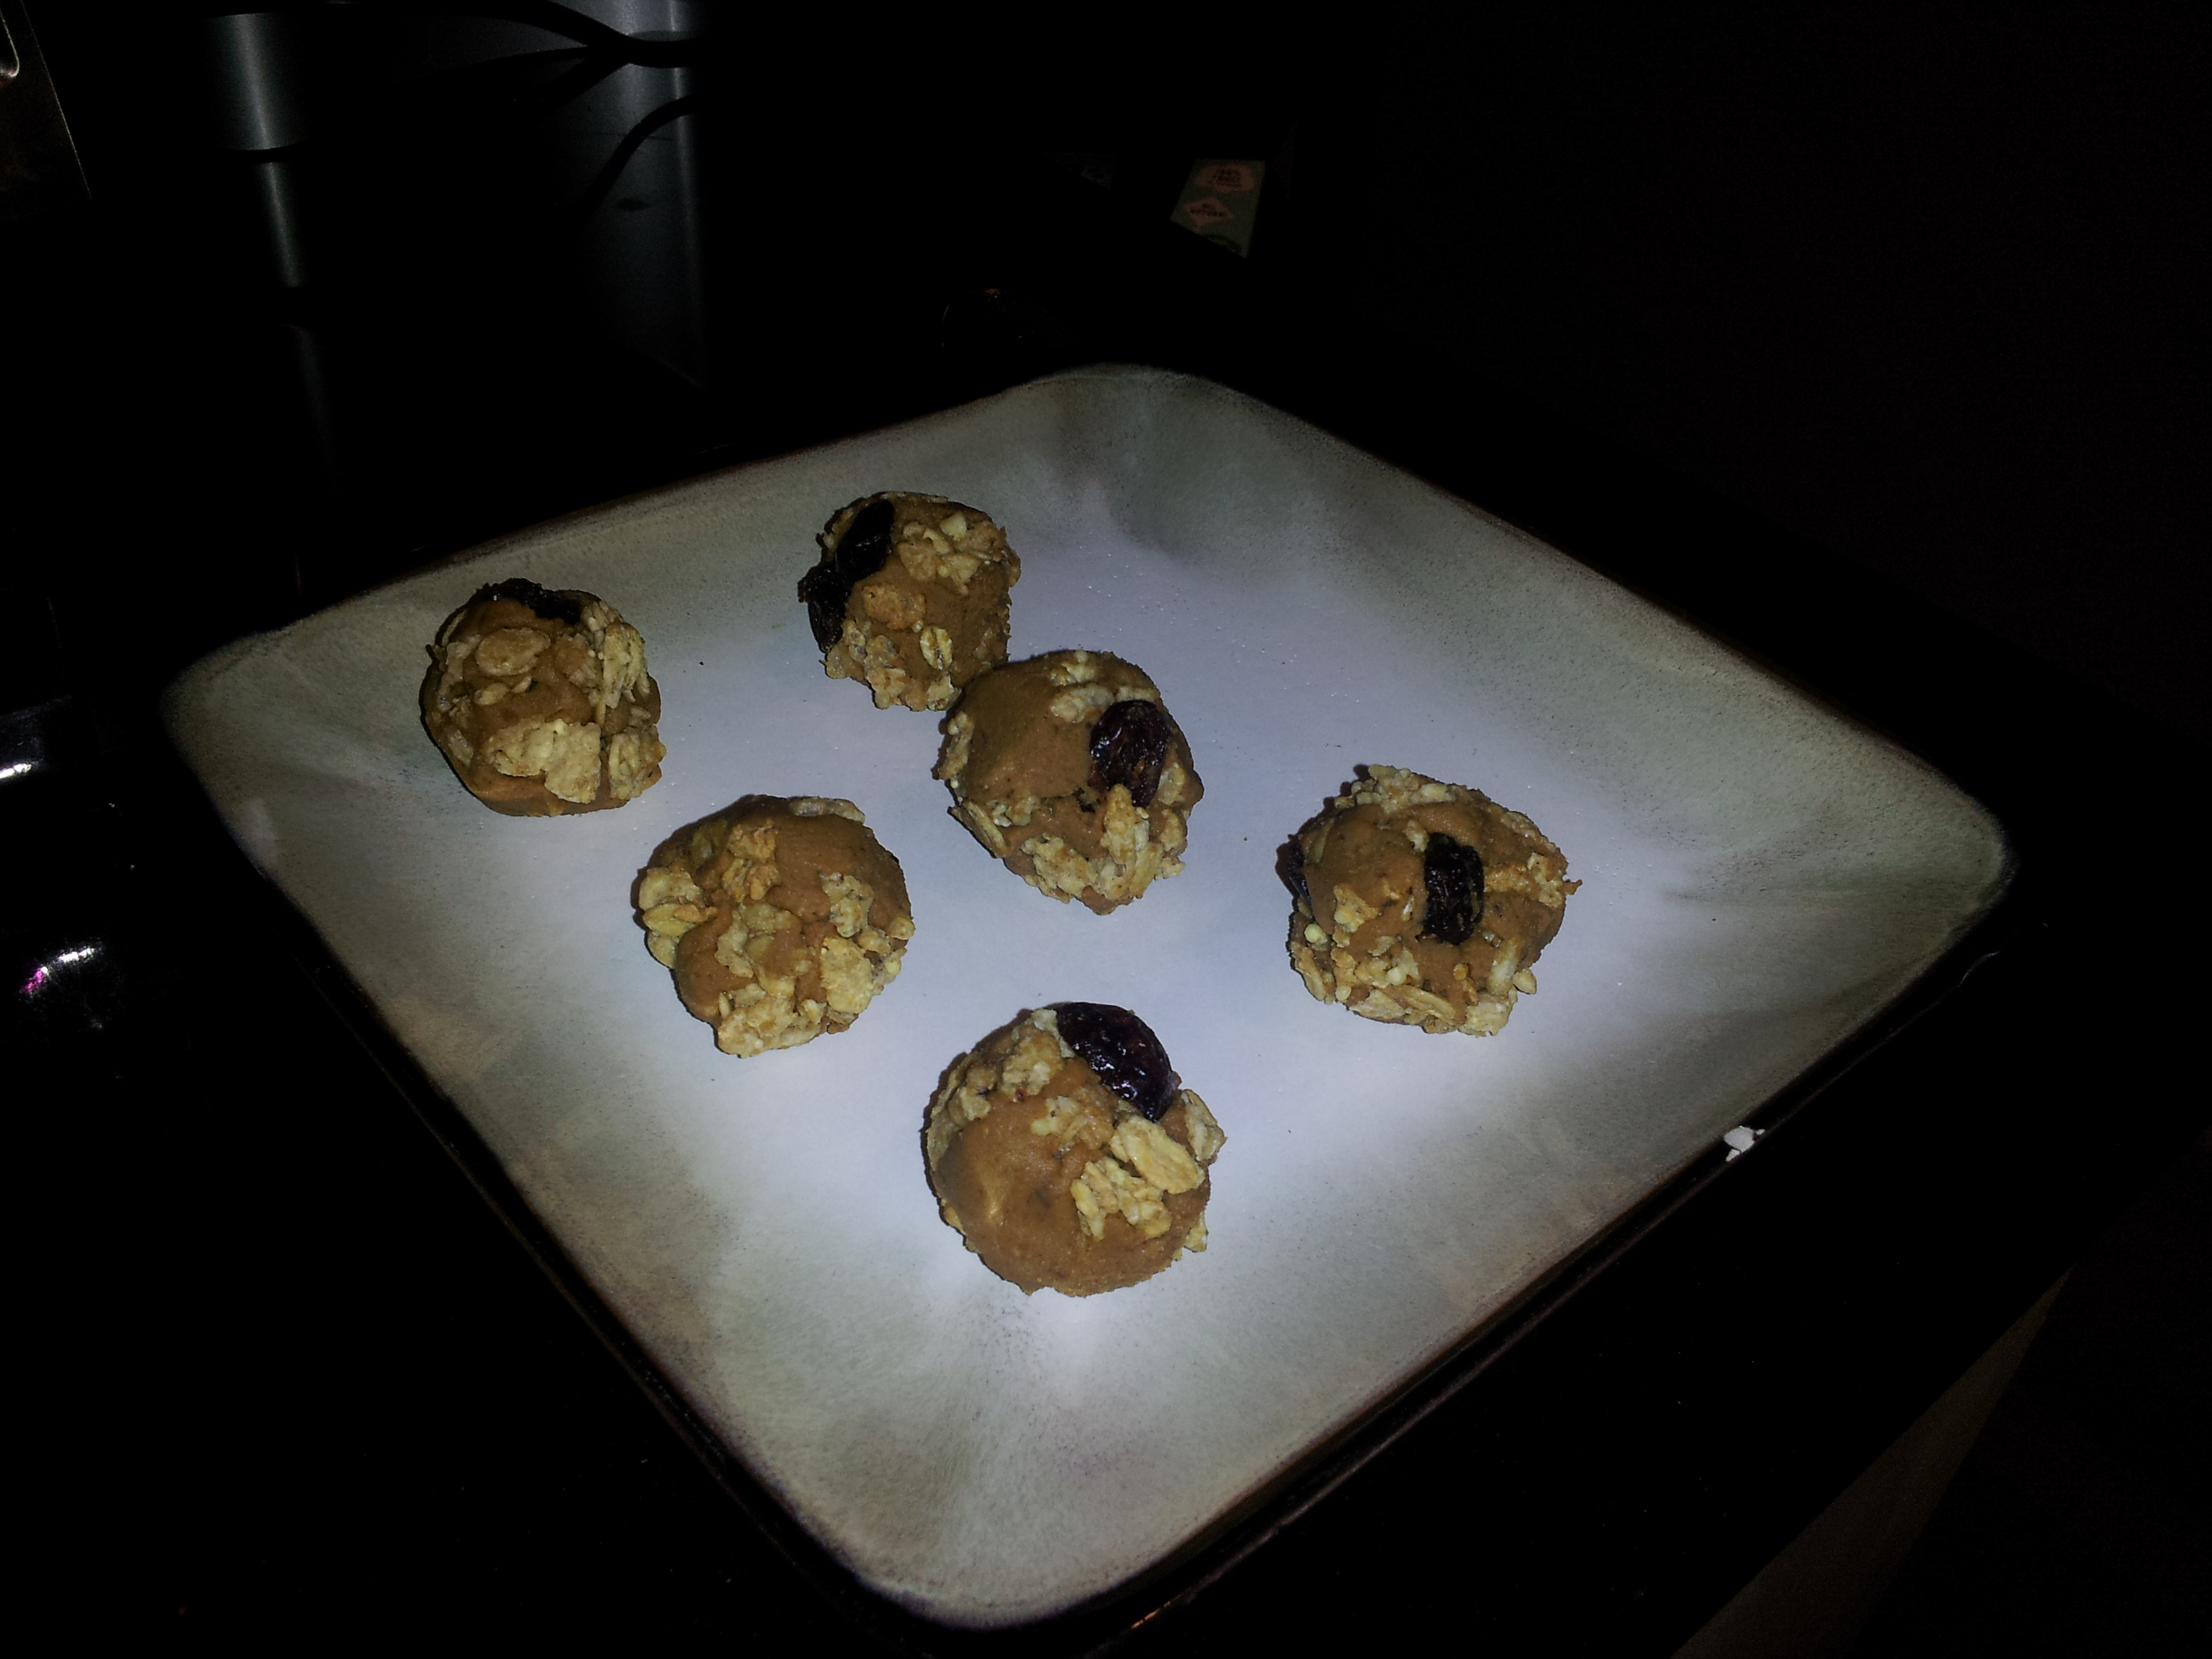
3. Take your peanut butter paste and scoop a small amount and roll it into ball in your palm. Take said ball and roll it in the granola mixture. Kind of combine it into a ball so that some peanut butter and some granola are on the outside. I like it all mixed together instead of the outside of the peanut butter just coated in granola. It’s better that way and holds up better that way.

4. Put your finished peanut butter granola balls on a plate. You could eat them like this if you are impatient or you want to. I had a few this way. Yum. But if you want to go the full monty – take the plate and put them in the freezer for about 10 minutes or so.
Into the freezer they go!
5. In the meantime, take your chocolate and put in a small bowl. If you’re using the squares or a bar, break them up a bit. Put in the microwave and microwave for 30-35 sec at a time. Stir in between and be sure not to burn. It took mine about 3 rounds of 30-35 sec each. Once done, I added a little stevia and a tiny spoon of cashew butter – just because. No need to, but that’s what I like. Stir until smooth and creamy and melty.
6. Take your peanut butter granola balls out of the freezer. Cut yourself a little piece of parchment paper if you have it and put it on top of the plate. One at a time, take the peanut butter granola bites and place in the chocolate. Use a small spoon to roll them around in the chocolate and evenly cover them. Take each out and carefully place on the parchment. Once each is done, place the plate back in the freezer. Leave them for another 10 minutes or so. They will set up outside on the counter too, but I like my chilled better and think they hold up better.

Going into the freezer!
7. I topped them with a dot of cashew butter in an attempt to make a food picture that finally did not look gross. Hope I succeeded!

My best attempt at a not gross food picture! A work in progress!
ENJOY!

